Transparent Image Generator
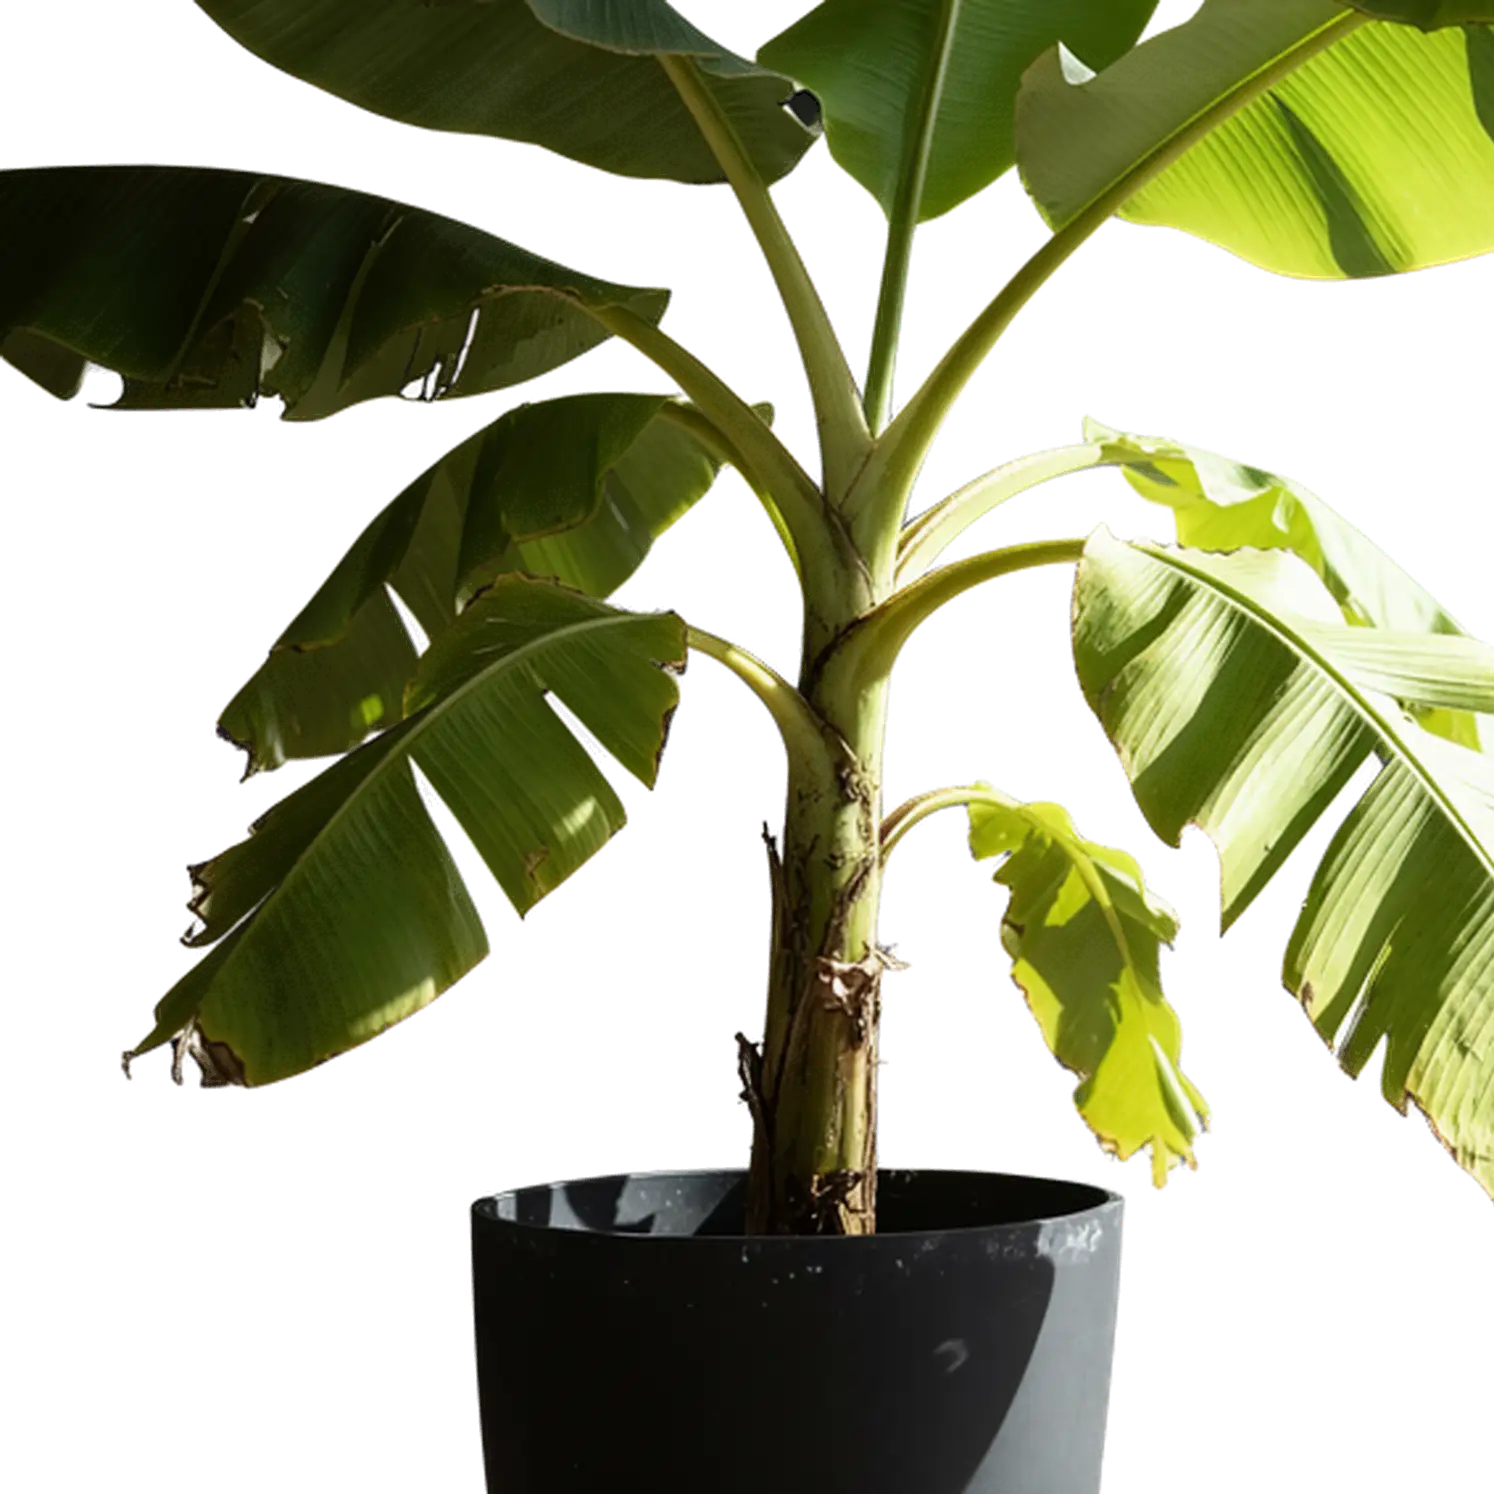
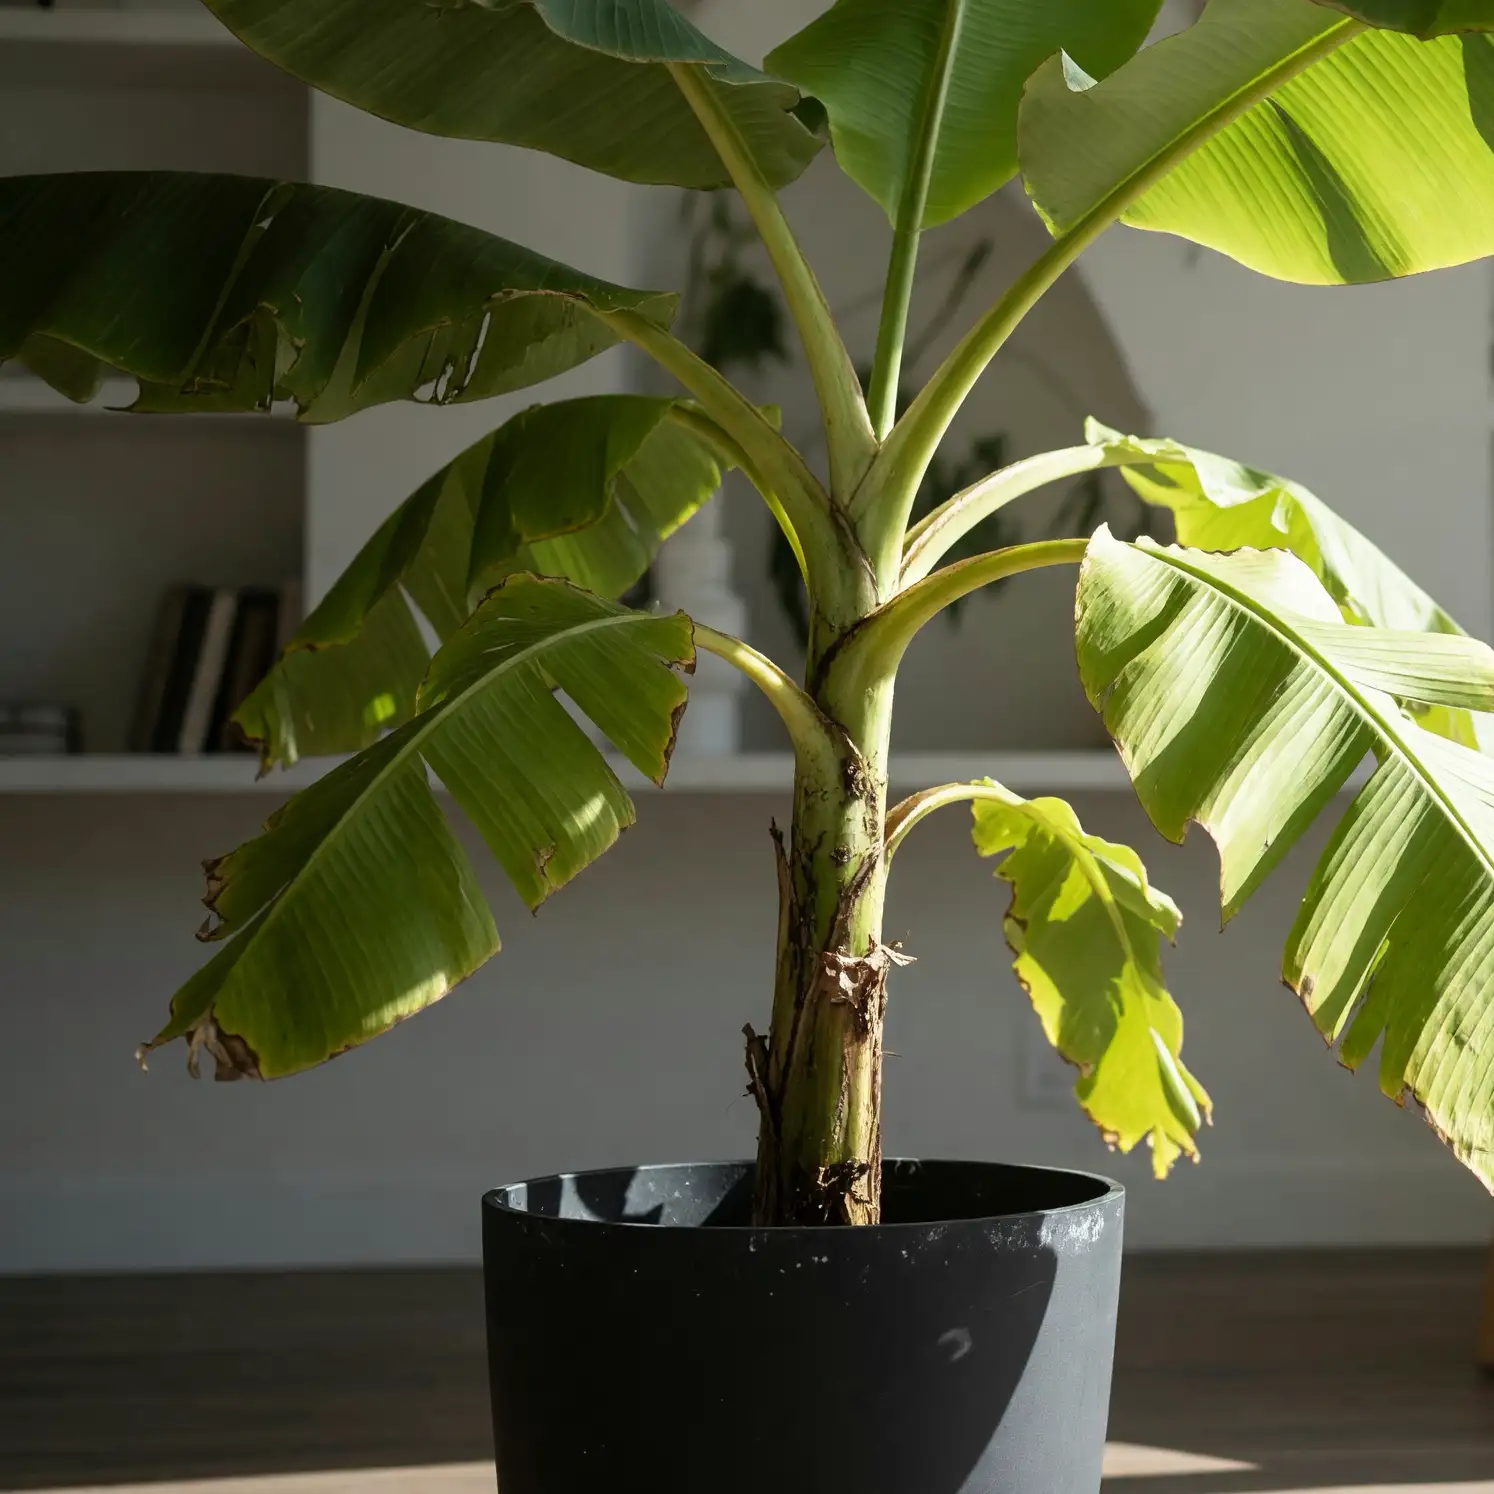
A transparent image generator creates standalone visuals from a description or a reference image. Make illustrations, characters, and objects to place in your own composition. Starting from a photo produces a newly generated version; use background removal when you need to keep the subject from the original photograph.
A transparent image generator for design assets
Create the missing piece of your design and place it where you need it, without adding a whole scene.
Stickers with personality
Design an expression, gesture, or object that communicates an idea on its own. Use the transparent image generator to explore versions before putting together your collection.
Illustrations that explain
Ask the transparent image generator for a recognizable object to explain a concept in a card or guide. Aim for a clear silhouette that still makes sense when scaled down.
Imagined characters and objects
Develop a mascot, character, or prop for an illustrated scene. The transparent image generator creates static assets you can combine with a setting of your own.
Decorations and open frames
Create floral motifs, ribbons, or seasonal elements. Leave room in the composition for a photograph or message and match the colors to the rest of the design.
Transparent image generator or background remover
Choose according to what you need to keep. Compare the starting material and the result before choosing a tool.
| Process | Starting point | Result | When to choose it |
|---|---|---|---|
| Generate from text | A description of your element | A new asset from the transparent image generator | You have an idea, but do not have the image yet |
| Remake a reference | An existing image | A generated version whose details may change | You want a reference to guide a new asset |
| Remove a background | The photo you want to use | The subject separated from that photo's background | You need to work with the original subject |
Choose the transparent image generator to create an asset, or background removal to isolate a subject from a photo.
How to use the transparent image generator
Define your asset, choose its proportions, and check how it fits your design.
Choose your starting point
Sign in. Use text mode for a written idea, or image mode when you already have a visual reference.
Define the element
Tell the transparent image generator about the subject, style, and pose. In image mode, upload your reference without adding a description.
Set the canvas
Choose an aspect ratio and 1K, 2K, or 4K resolution. Text mode also lets you request several versions.
Choose your result
Compare the generated variations. Check their shapes and colors, then place the PNG against your composition's background.
What to tell the transparent image generator
Describe what should appear in the foreground. These five choices help define the image you want.
Subject and defining features
Name the object or character and two or three features that distinguish it. If there are several subjects, explain how they relate to each other.
Pose or viewpoint
Tell the transparent image generator whether you need a front, side, or top view. For a character, specify the pose and expression.
Visual style
Choose a recognizable direction: flat illustration, watercolor, cut paper, or a photographic look. Keep that direction when developing a set of assets.
Colors and materials
Specify important colors and surfaces. The transparent image generator can interpret glossy ceramic differently from matte paper.
The complete outline
Name any parts that need to stay visible, such as wings, handles, or feet. Leave room around the subject when you plan to reuse it in different layouts.
To start with this AI PNG generator, try: “A full-body orange fox, flat illustration, front view, visible paws, and space around the subject.” The description defines the subject, style, and framing; the result is prepared with a transparent background.
Give your subject room to fit
The transparent image generator canvas needs space for the whole subject, including its outer edges.
Square for compact shapes
Use a square canvas in the transparent image generator for a badge, mug, or illustrated head. Leave a margin around the outline.
Portrait for tall silhouettes
Choose a vertical frame in the transparent image generator for a full-length figure, plant, or tower. Specify that the whole subject should be visible.
Landscape for extended shapes
A branch, ribbon, or group of objects needs room on both sides. Match the frame to its width and leave space where you plan to place text.
The transparent image generator offers 1K, 2K, and 4K. Choose for the asset's intended display size: transparent margins count toward the canvas dimensions too. A high-resolution image with lots of empty space may still contain a small subject.
Bring your PNG into a composition
Combine transparent image generator results with your own backgrounds, text, and photographs.
Check before placing
- Check the subject's shape, proportions, and important details.
- Place the PNG over light and dark colors to spot unwanted remnants or edges.
- View the asset at the size it will appear in your finished design.
- Compare transparent image generator variations within the same composition.
Keep a reusable version
Import the PNG into an editor that supports transparency and add text on a separate layer. Save the asset without merging it into a background so you can reuse it. The transparent image generator supplies the image; you decide on the finished layout in your editor.
Transparent image generator questions
Choose the right input and prepare your assets for use outside the tool.
Choose a tool for your next image
Use the transparent image generator for isolated assets, and these options for other tasks.
Create with the transparent image generator
Describe the missing piece of your project. Explore versions and choose an asset without a background to complete your composition.
Create transparent images