Batch Background Remover
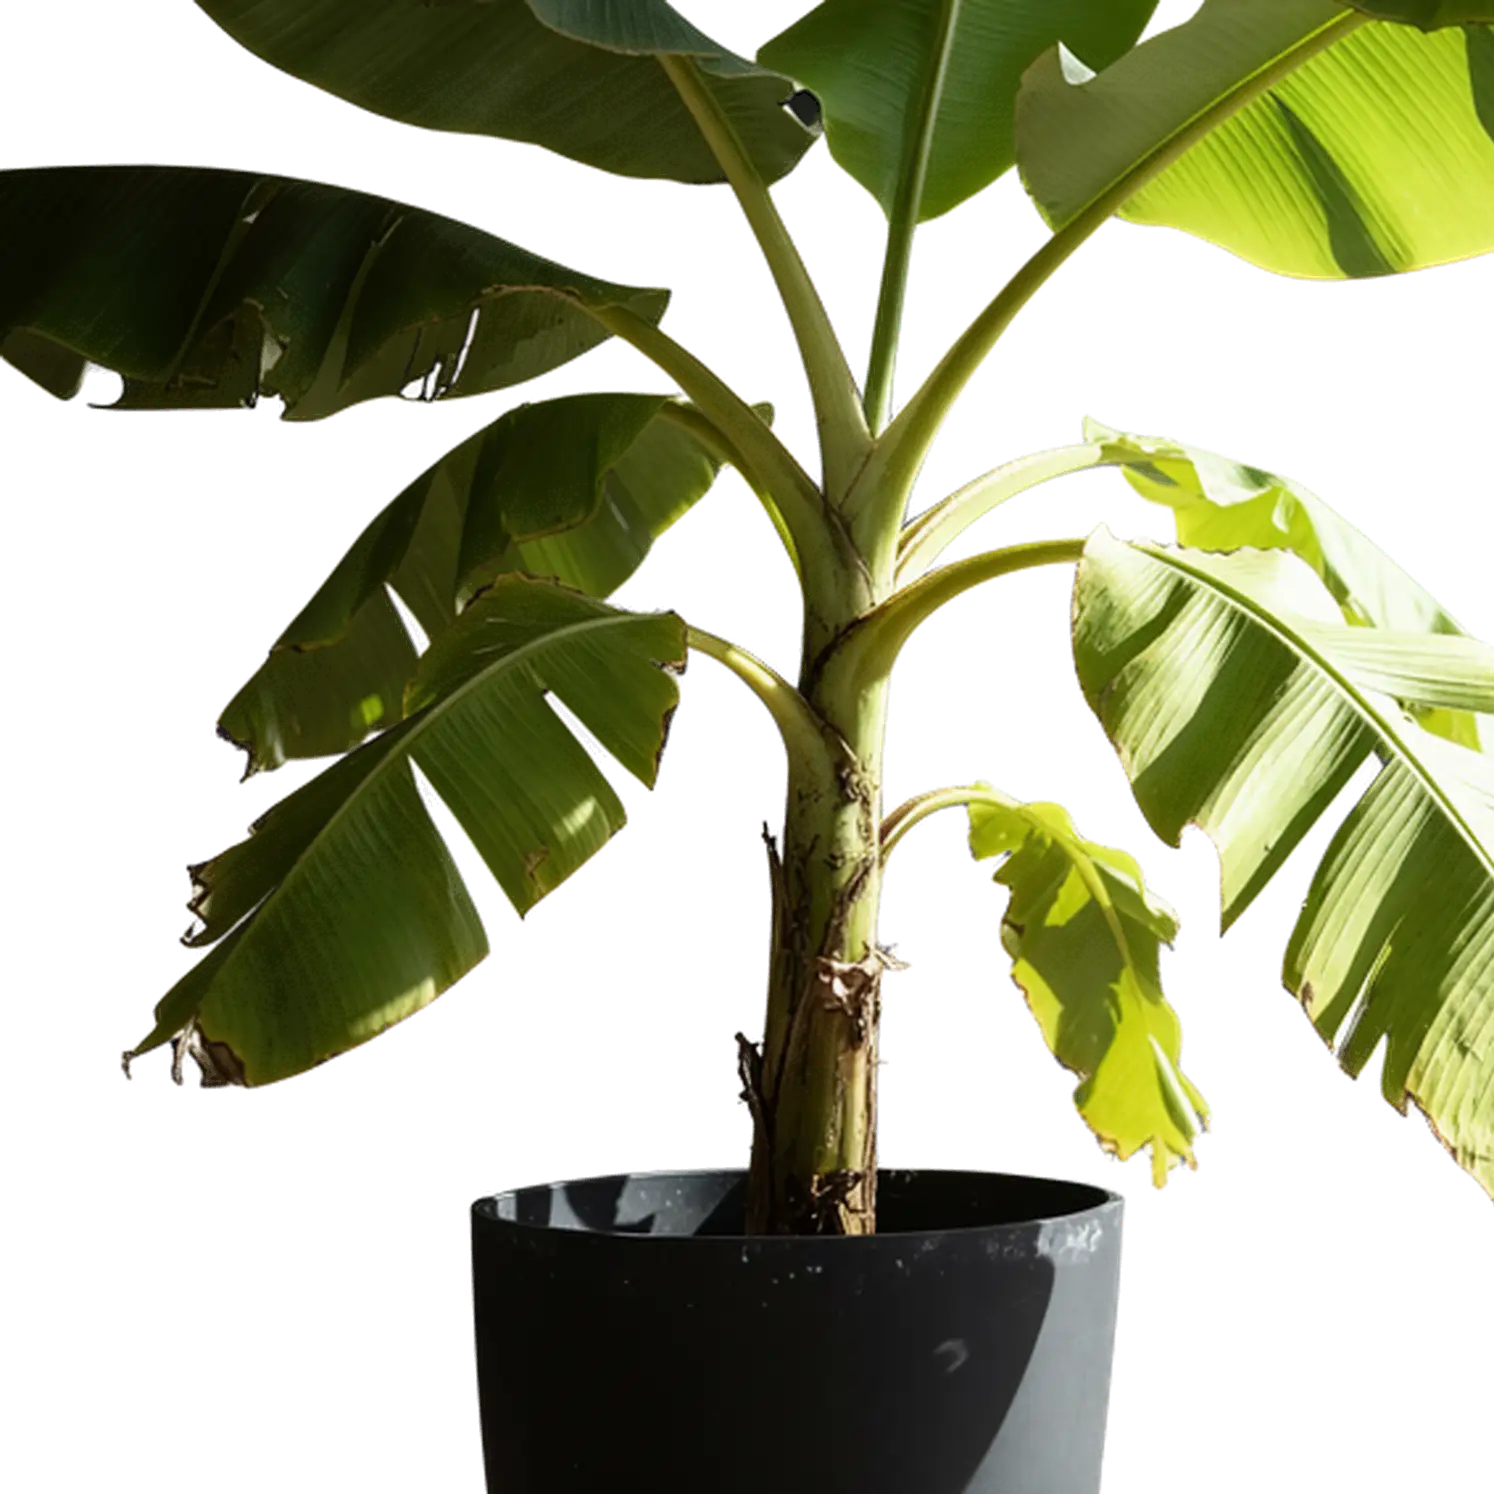
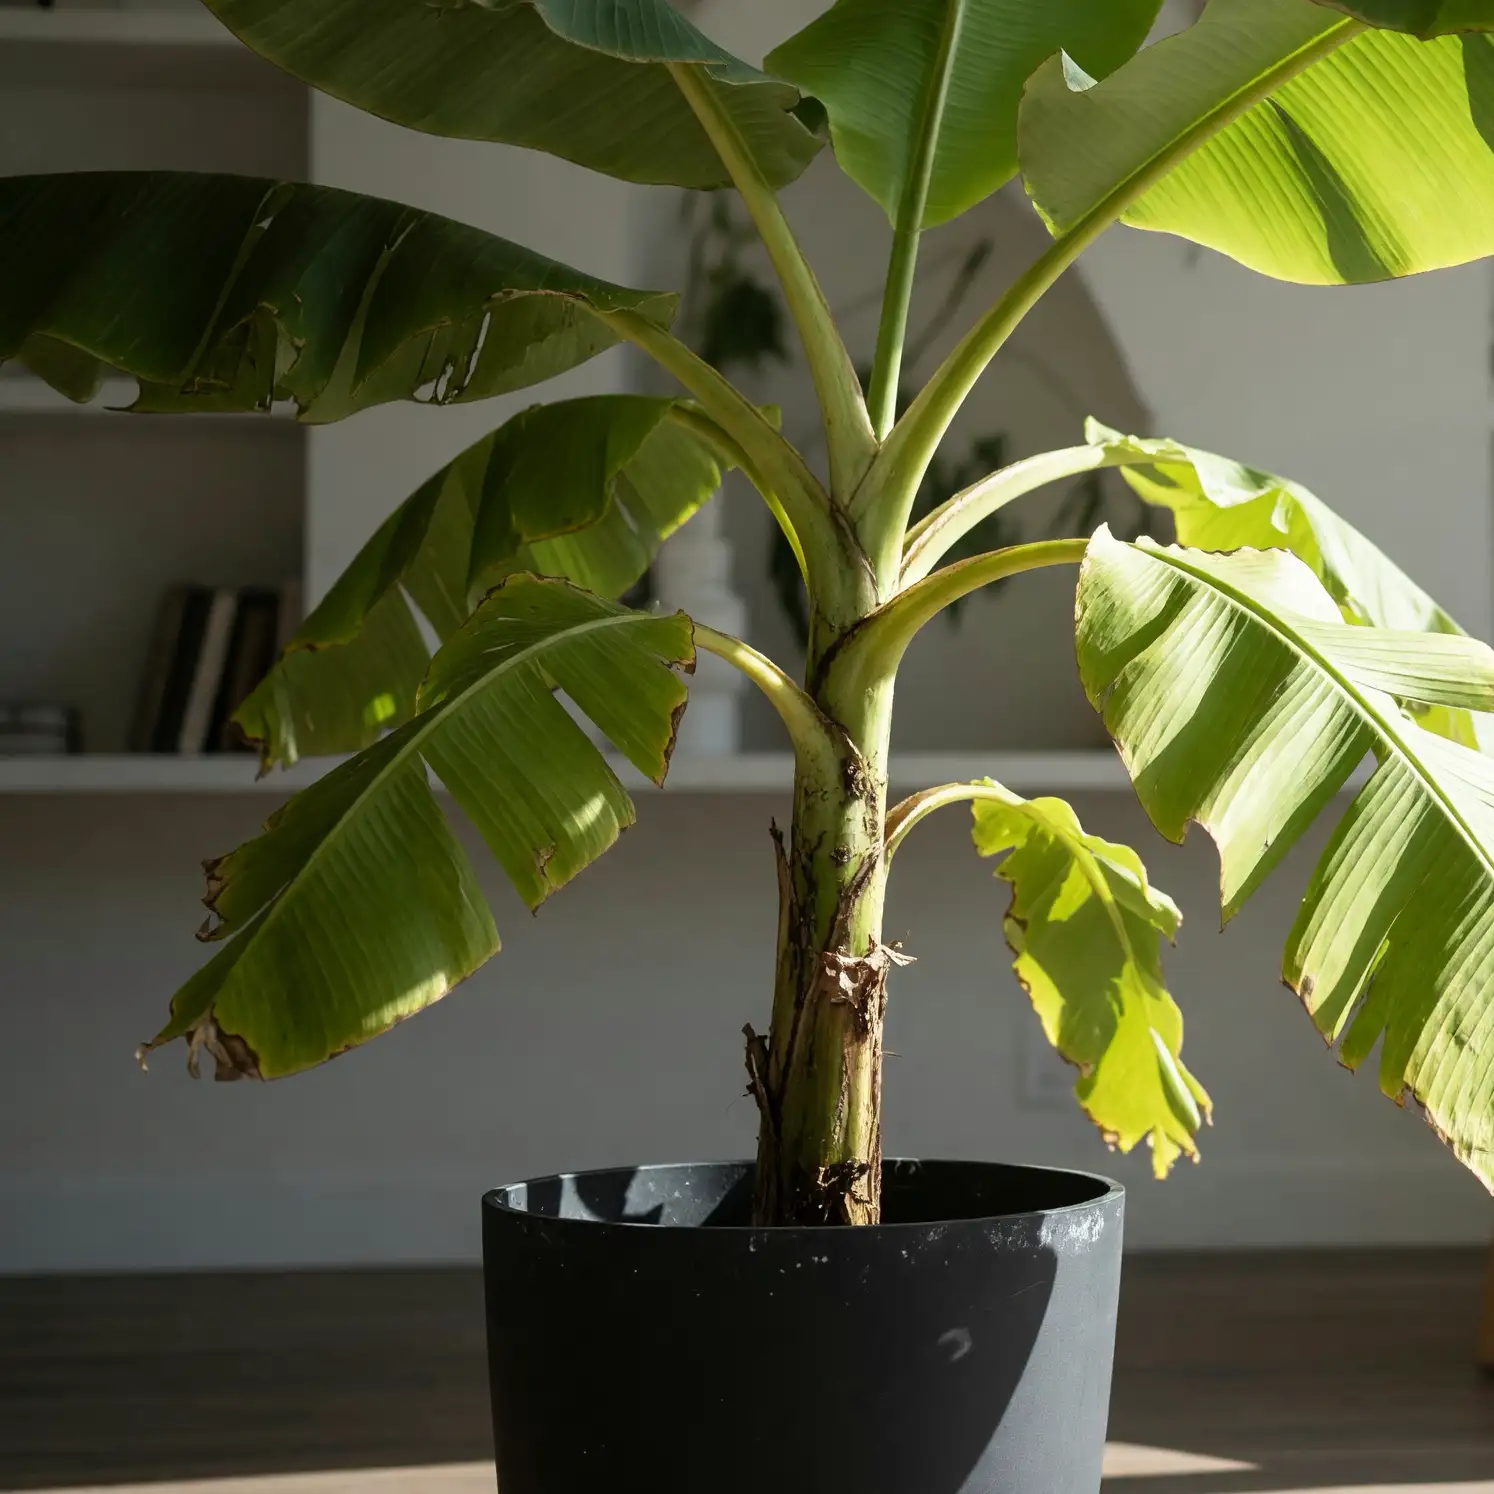
Use the batch background remover to prepare several product photos or portraits for the same project. Select your images, start processing, and get a transparent PNG for each photo. Keep up to 10 tasks queued or running and review finished results while the rest are still processing.
How to Use the Batch Background Remover
Remove backgrounds from multiple images and keep a separate cutout for every file.
Choose the Photos
Add JPG, PNG, or WebP images, up to 10 MB each. Select several files from your device or drag them into the batch background remover.
Start Processing
Click “Remove Background” and follow each task's status. Finished cutouts appear as they become available, so you can inspect them while other photos are still processing.
Save the Results You Need
Open each image’s preview and download the cutouts you need individually. Save the PNGs with your project photos to keep the materials for your next delivery together.
When a Batch Background Remover Fits the Job
Bulk background removal is useful when photos belong to the same shoot, product, or delivery.
Variants of the Same Product
Bring together photos of each color or finish in the batch background remover. Use the cutouts in your product listing so every variant has its own image.
Front, Side, and Detail Views
The batch background remover prepares different views of an object without combining them. Keep each shot separate to explain the object's shape in a product listing or presentation.
Portraits from One Shoot
Send the approved shots from a session to the batch background remover. You can then build the series with matching framing and scale in your design editor.
Files for Several Designs
Prepare the subjects you need to hand over to a designer. Include the individual cutouts and group them by project so they can be placed in the right compositions.
What a Batch Background Remover Simplifies
Start with a group of files and keep control of each finished image.
One Selection, Several Tasks
Add the photos you need to the batch background remover and submit them together. Each file runs as an independent task, without manually setting up a separate request for every image.
Cutouts You Can Use Separately
Every photo has its own result. Use some views in a product listing and others in a presentation, choosing each cutout to suit the material you are preparing.
Keep the Next Group Moving
Prepare your next selection while the batch background remover works on the current one. Add more photos as space becomes available and continue through your project in the same session.
Batch Background Remover or One Photo at a Time?
Choose a workflow based on how many photos you have and where you plan to use each cutout.
| How to Organize the Work | Batch Background Remover | One Photo at a Time |
|---|---|---|
| Group the Photos | Gather the views or color variants of one item. Keep different products in groups you can easily identify. | Choose a specific shot for a product listing, profile, or composition. |
| View the Results | Open finished cutouts while the remaining photos in the group are still processing. | Preview one image and decide where to place it in the composition you are preparing. |
| Continue Processing | Prepare your next selection and add it when completed tasks free up space in the queue. | Check the result before submitting another photo when each image needs its own decision. |
| Save and Check | Download each cutout and match it to its original by product, color, or view. | Save the PNG and place it over the background of the design where you plan to use it. |
Use the batch background remover to prepare a series, or work one photo at a time when you need a particular image. Both workflows are available in the same tool.
Organize Your Files for the Batch Background Remover
A little preparation makes it easier to check that a set is complete.
Separate Your Deliveries
Group files by product, photo shoot, or recipient before using the batch background remover. This makes it easier to keep each delivery together when saving the finished images.
Choose Clear Photos
Select sharp, well-lit photos with the whole subject in the frame. For a catalog, gather angles that show each item’s shape, finish, and details.
Label Each View
When organizing your saved PNGs, name them by product, color and view. A label such as “blue-shirt-front” helps you find the right cutout when preparing a listing or delivery.
Finish the Layout
Place the transparent files in your catalog or presentation template. Use a common guide for scale, margins, and alignment so the images fit the design of the series.
Batch Background Remover Questions
Plan your photo set, understand the queue, and prepare the next delivery.
Choose the Next Task for Your Images
Continue with photos you already have or create new elements to accompany them.
Start with the Batch Background Remover
Gather the photos for your next delivery and prepare cutouts of each product, person, or view. Use the batch background remover to keep transparent PNGs ready for your catalog or presentation.
Remove Backgrounds in Bulk